Sewing Nappies for Dolls
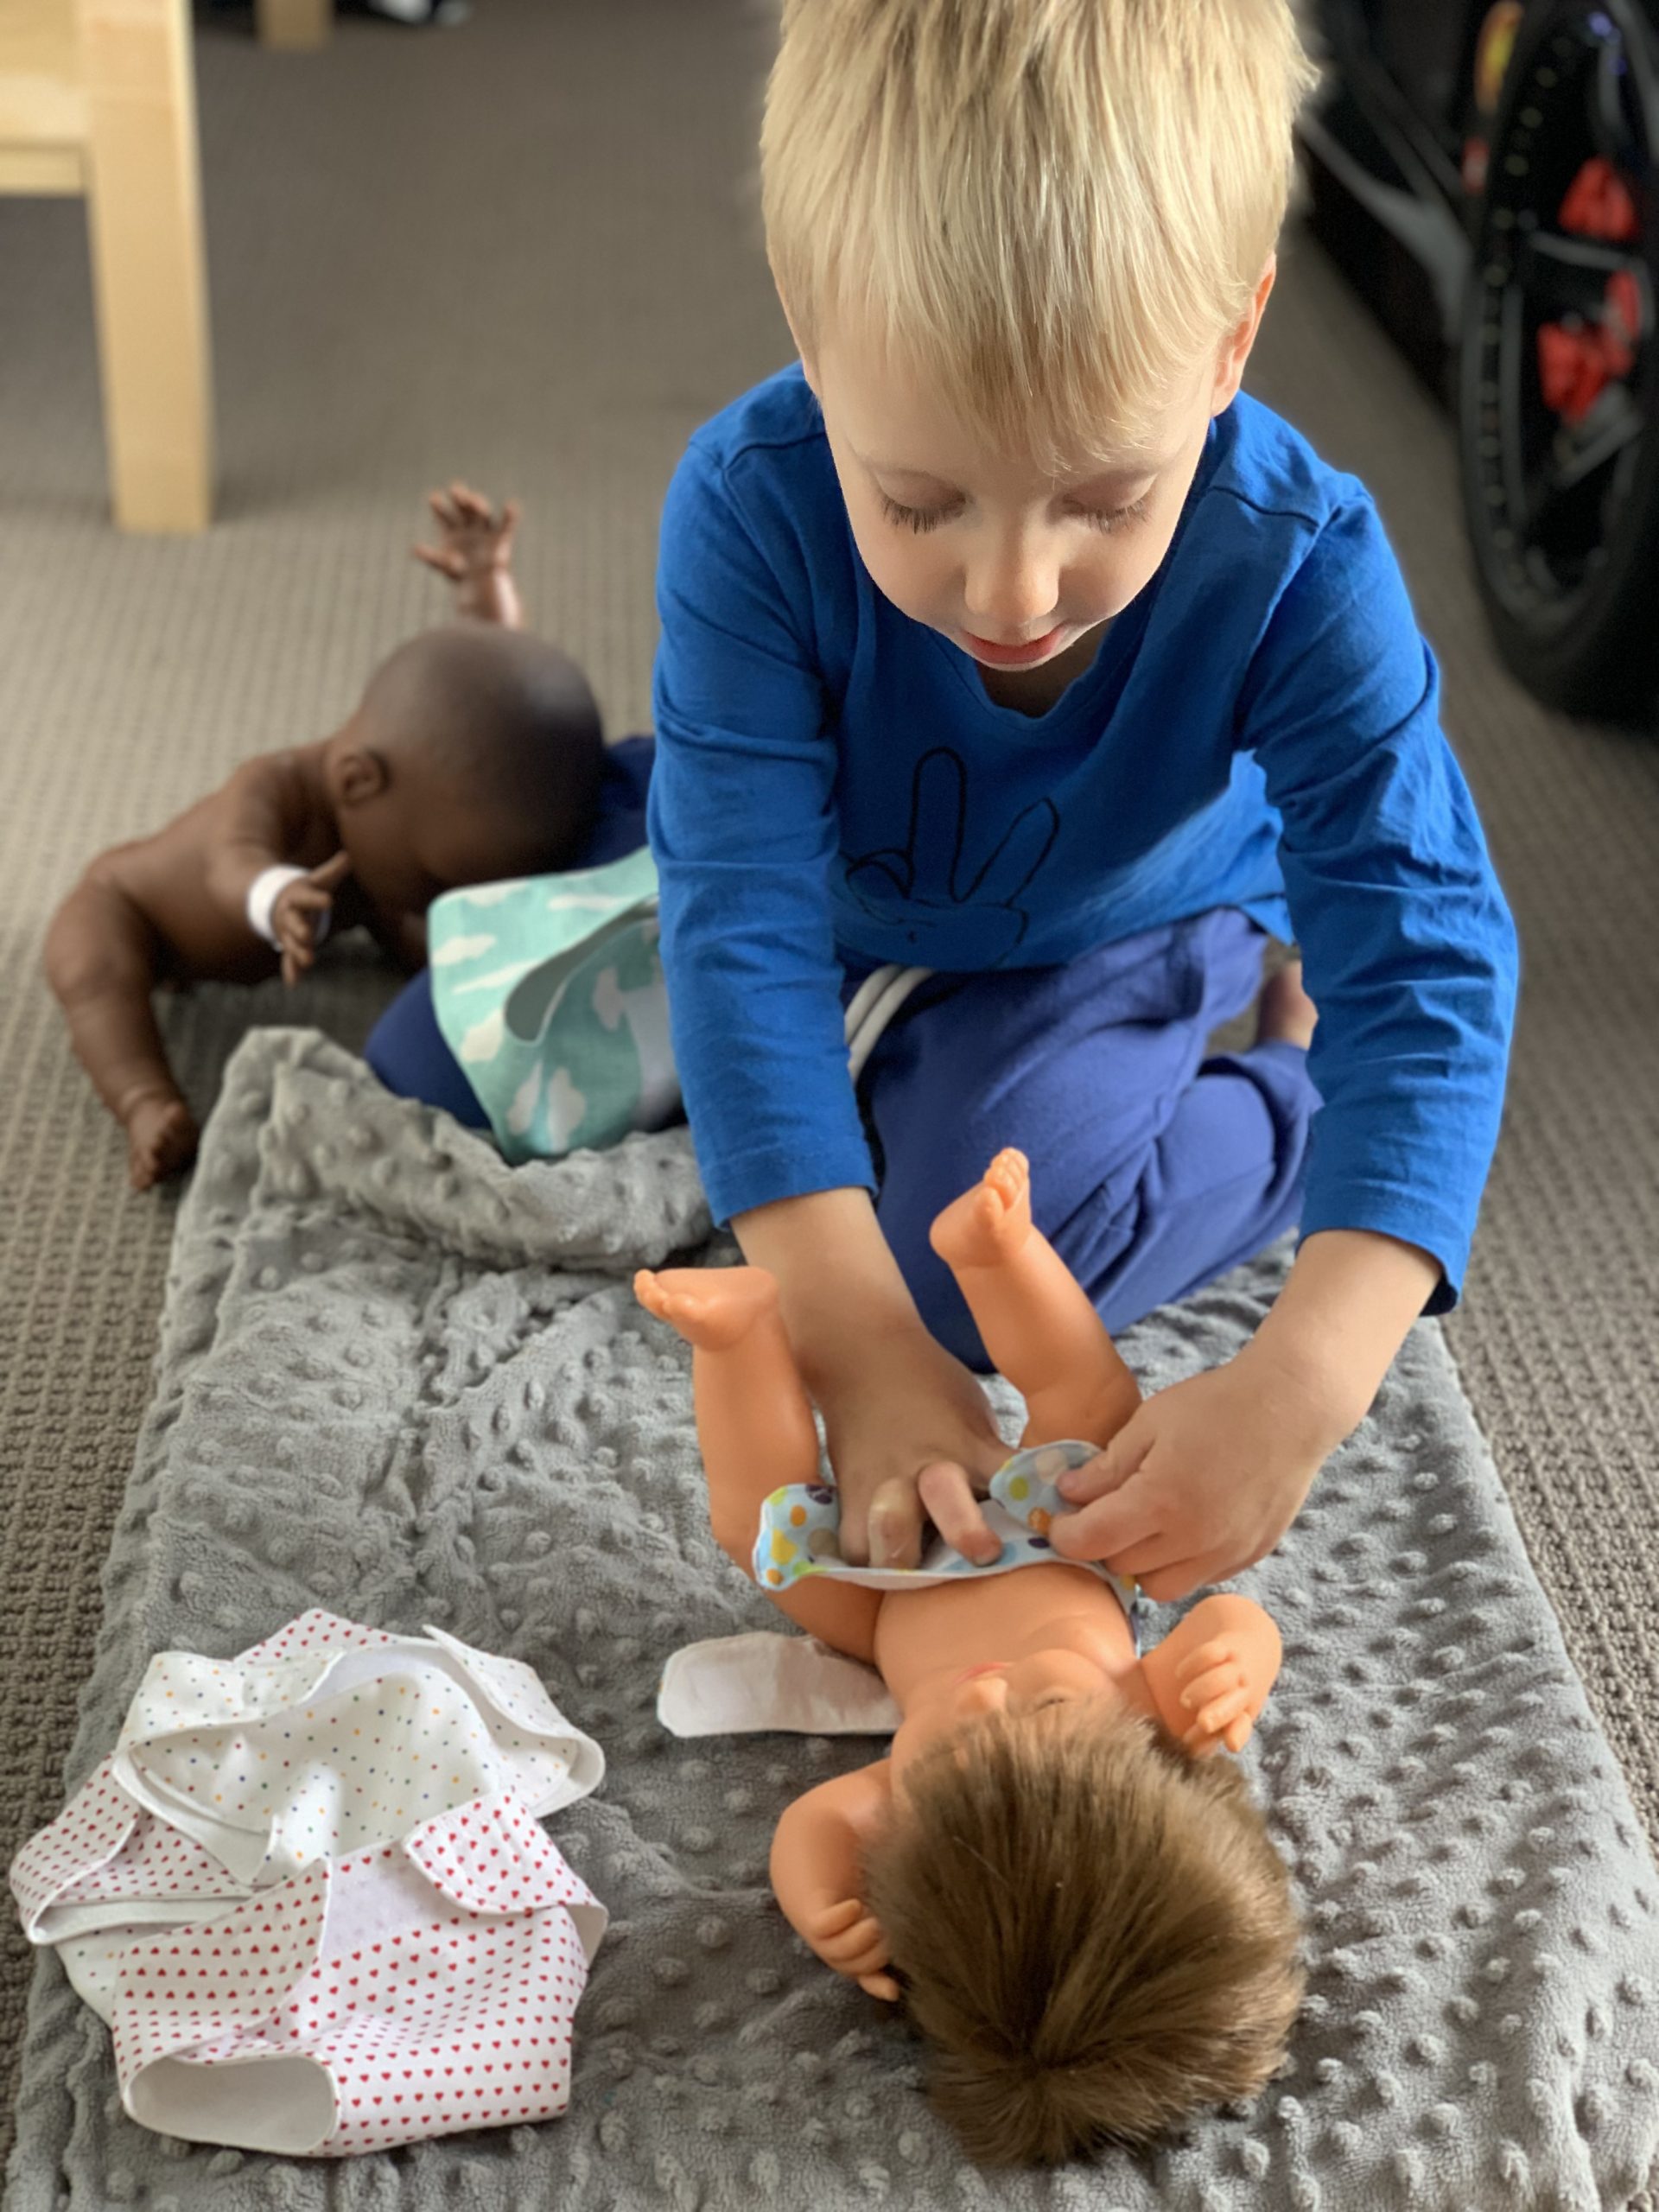
Playing baby with dolls is a fun role modelling activity, especially when a younger sibling arrives!
If your little person has an obsession with nappies, here’s a very quick pattern to sew up so that they can change their baby’s nappy all day long.

Download the original pattern from Skip to my Lou here
Printed at 100%, this patten fits dolls between 32cm – 45cm in size – you can play with the scale settings to fit dolls of different sizes. If in doubt, cut out your paper pattern and fold around your doll to test!
Supplies:
Fabric: this is a great project for upcycling old style flannel cloth nappies for the lining, but any woven cotton fabric will suit inside and out (not stretch/knit). Think baby wraps, old pillow cases, anything with colours and patterns that will appeal to your little person. If you do use a stretchy fabric, we recommend using this for only one side.
Coordinating thread
Sew in velcro: we used a long strip of the loop side of velcro across the front to make these nappies adjustable for different doll sizes, and short pieces of the hook to fasten. Allow 10cm per nappy if you print pattern at 100%. We prefer not to use stick on velcro as this tends to gum up your sewing machine needle.
Sewing Machine: not essential, you can stitch this by hand if you don’t have access to a sewing machine. If you have access to a Sharp machine needle, this will come in handy for sewing on the velcro. If don’t and your machine has trouble with the velcro, you may choose to stitch this on by hand.
Instructions for making a doll nappy
Place your pattern piece on the fold of your fabric. If you have directional fabric, you might want to make sure that the small end of the pattern faces the top of the fabric (i.e. upside down) – this way your pattern on the front of the nappy will be the right way up when you look at the doll (but upside down from behind).
Cut 2 pieces of fabric, one for the lining, one for the outer. The seam allowance of 6mm/ 1/4 inch is included in the pattern.
Pin the 2 pieces of fabric together with right sides together. Stitch around the edge using a 6mm (or 1/4 inch) seam allowance – make sure you leave a 5cm / 2 inch gap on the straight edge to turn through.
Clip the corners, and around the seam curves, being careful not to cut through the seam. Turn through to the right sides, using a chopstick or something pointy to push the corners out. Fold your opening to the inside, and iron the whole nappy flat.
We like to close up the opening by top stitching 2-3mm from the edge, all around the nappy. This gives you a nice flat finish. If you want to skip this step, hand stitch the opening closed using a whip stitch.
Sew velcro on the inside of the back flaps and on the outside of the front. You might like to lay the nappy out and try on your doll (if possible) to make sure you are sewing these on the right way, and you are happy with the placement and fit for the doll. If you are sewing a long strip of velcro to make nappy adjustable, centre this on the front of the nappy, roughly 1cm from the top, and make sure that you are using the soft side of the velcro so that the nappy doesn’t stick to everything else!
Watch your little person take these nappies hot off your sewing machine for hours of baby play fun!
Sewing not your jam? Grovedale Toy Library has you covered – our dolls are all getting a refresh this winter with new cloth nappies.
Pattern Credit: Skip to my Lou https://www.skiptomylou.org/how-to-make-a-diaper-for-a-childs-doll/